
Sometimes, funny Teams backgrounds can make your daily meetings more fun. If you feel like spicing up your video conferences, it’s easy to incorporate interesting photos, drawings, or images into it. As long as it’s work-appropriate (and doesn’t break workplace rules), MS Teams background images are a great way to make work more fun for everyone.
We’ve gathered 24 high-quality images to use for your background, as well as a step-by-step guide for changing your Microsoft Teams background!
This Article Covers:
Funny Teams Backgrounds in 2026
You can change your background on Zoom, so why wouldn’t you change it on Microsoft Teams?
Microsoft allows you to change your background image before and during your meeting. You can blur your background, use one of the provided images, or add your own.
1. Birthday Greetings

Photo by m0stro
No matter which remote communication tool you use, you will encounter someone having their birthday. Surprise them by showing them that you’ve remembered with a birthday greeting background (like this one)!
2. Please Wait… I’m thinking!
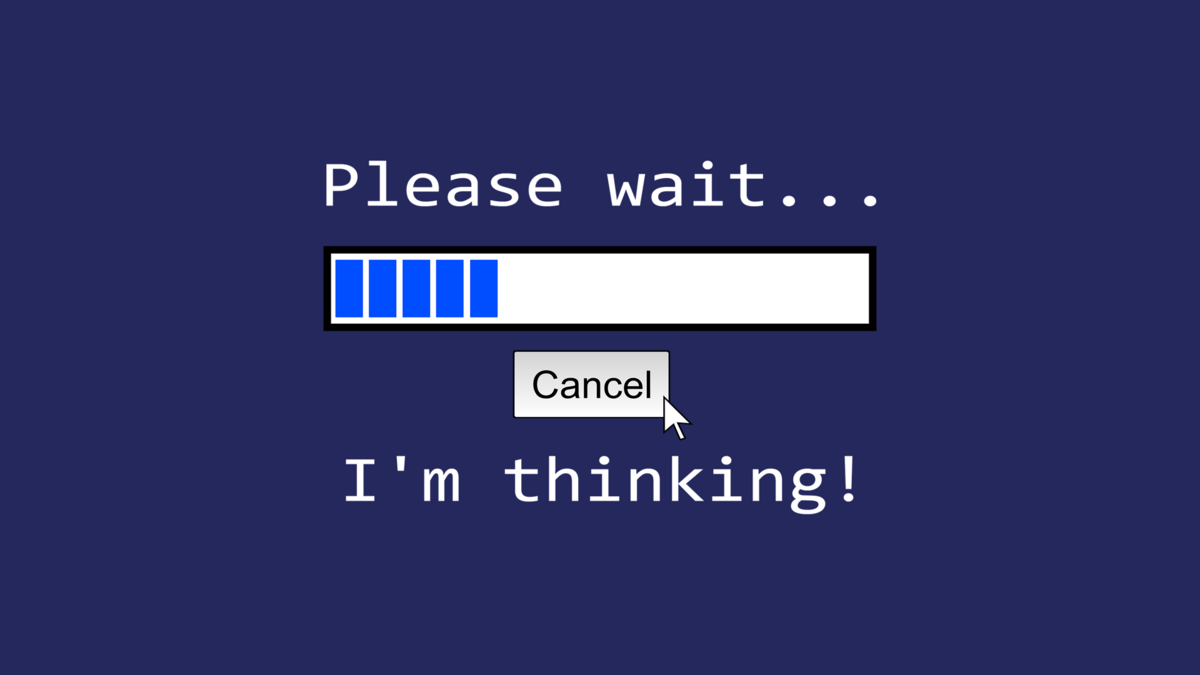
Image by Elias
Whether you’re using Zoom, Microsoft Teams, or other webinar software like ClickMeeting, this image is one way to tell your colleagues to be a bit more patient!
3. Toy Story

From Disney Pixar
4. Hoth from Star Wars

From Star Wars
Funny Animal Backgrounds for Teams
Sometimes, a cute animal is a great way to lighten the mood. The best part is animals are almost always work-appropriate. It’s impossible to be unprofessional with one of these images!
5. Curious Dog

Photo by Lum3n from Pexels
6. Cool Pup

Photo by Ilargian Faus
7. Yelling Kitten
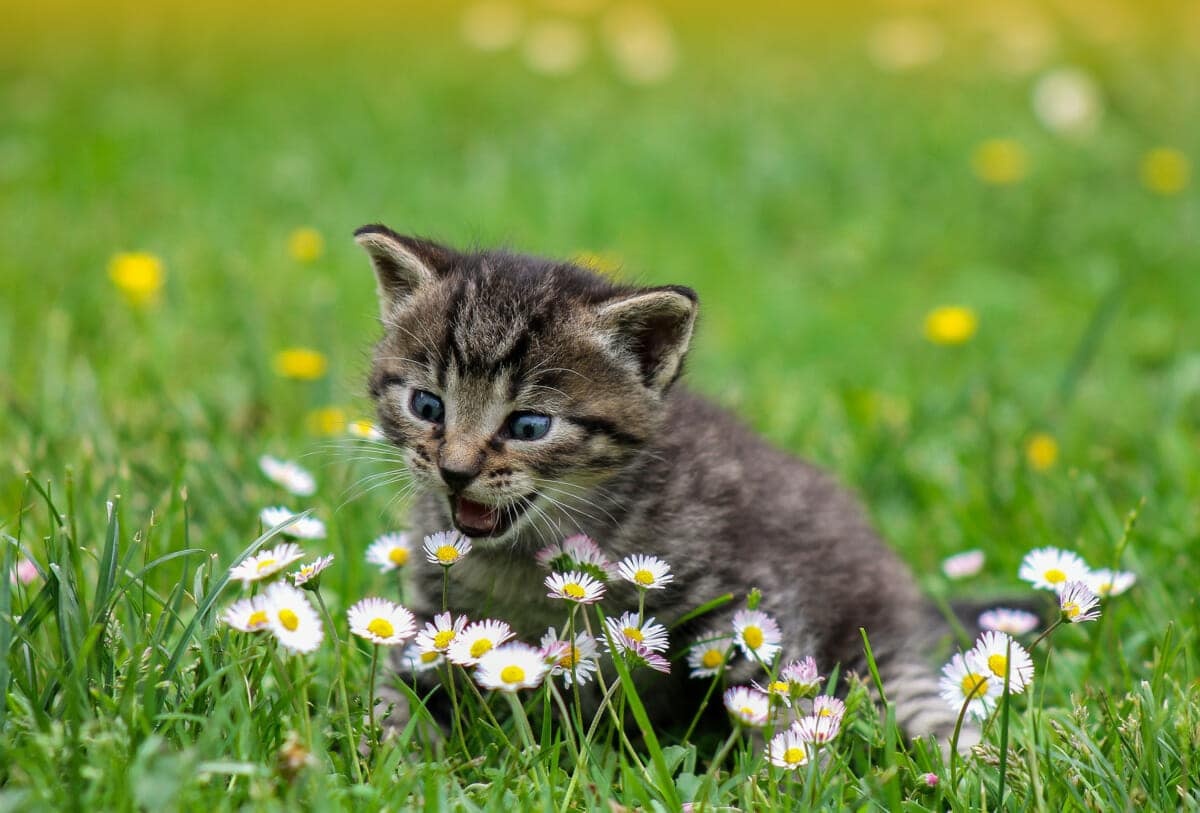
Photo by Ilona Ilyés
8. Relaxed Dog

Image by katerinavulcova
9. Curious Tree Cat
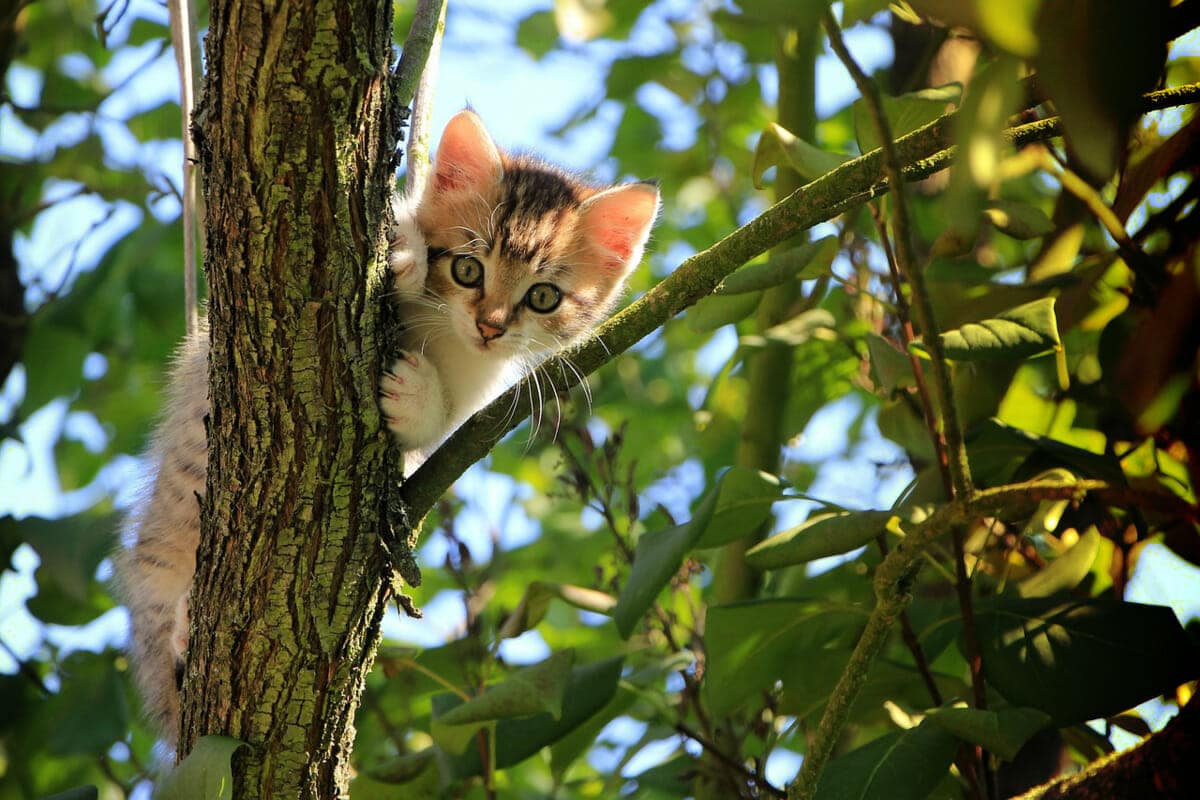
Image by Kessa
10. Smiling Manta Ray
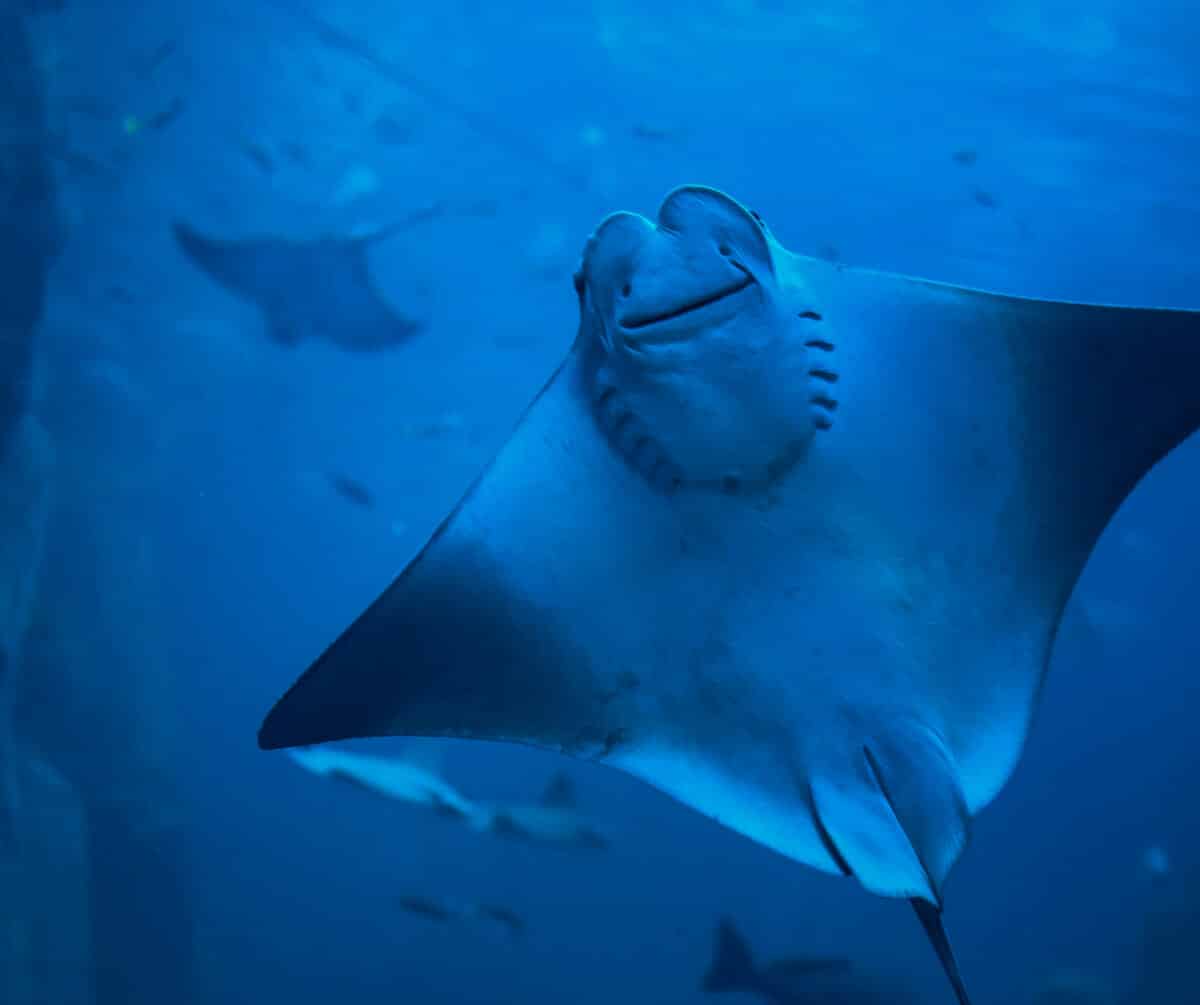
Photo by Ahmed ツ
Halloween Teams Background Images
Halloween is a fun time for everyone, especially for lovers of this spooky holiday. Work may not always allow you to dress in costume, but that doesn’t mean you can’t get spooky. Check out these Halloween-themed backgrounds for your Microsoft Teams background!
11. Funny Pumpkin Faces

Photo by Susanne Jutzeler
12. Moon Cat
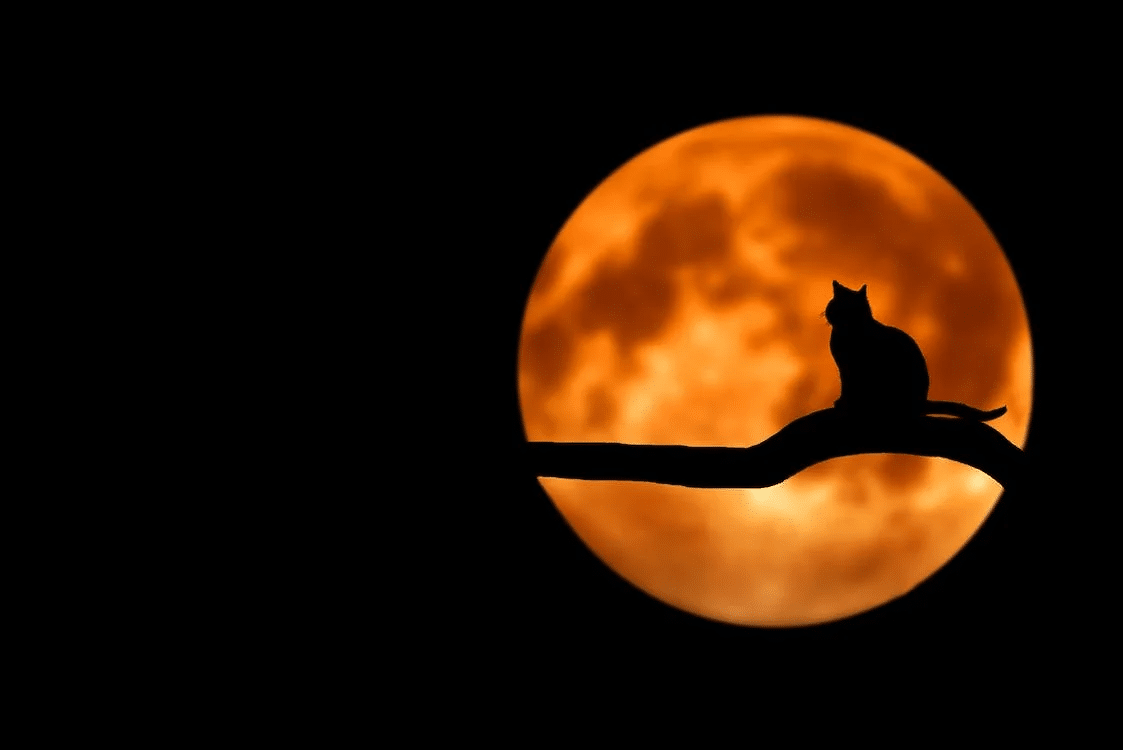
Photo by Pixabay
13. Hear No Evil, Speak No Evil, See No Evil Skeletons
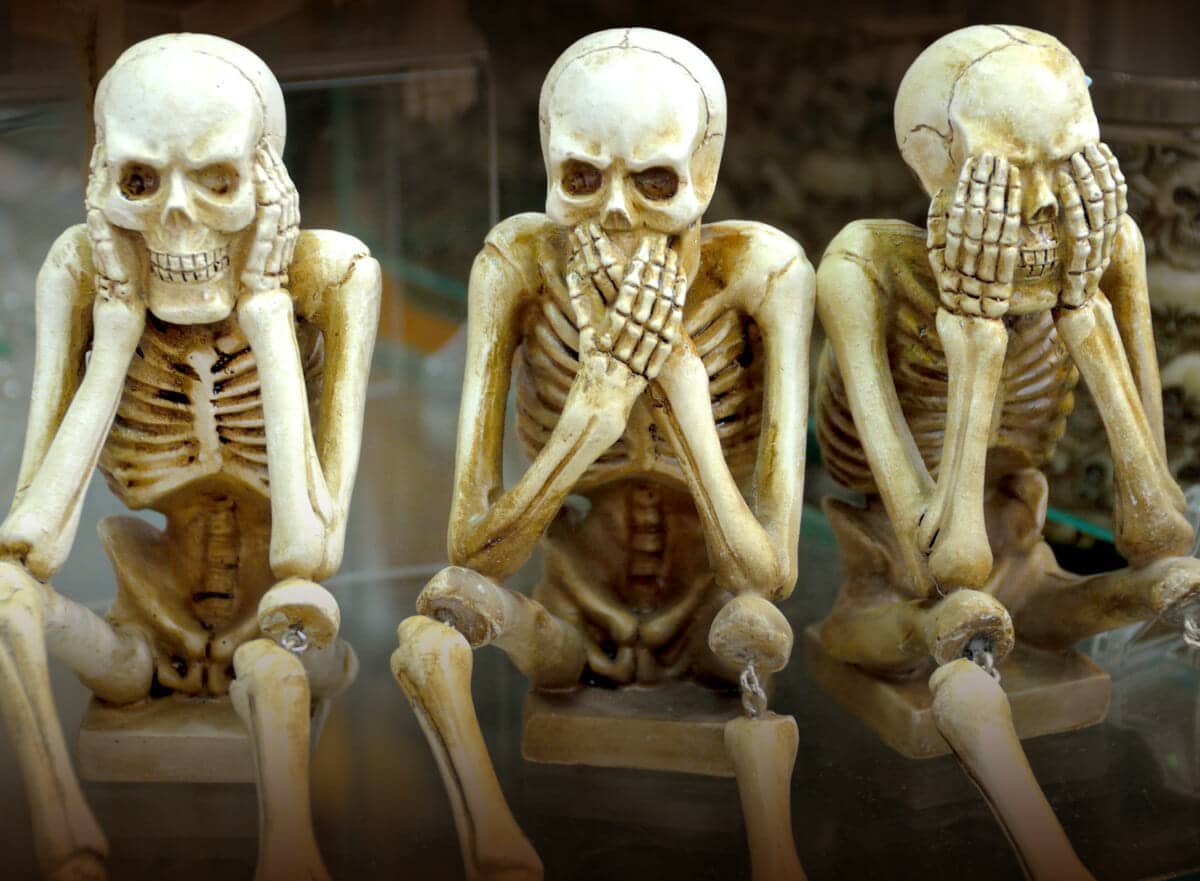
Photo by Paul Brennan
Location Background for Microsoft Teams
Want to pretend like you’re somewhere else? These location background images can bring a totally different vibe to your meeting, whether that’s in the Oval Office, underwater, or even in an airplane cockpit.
14. The Oval Office
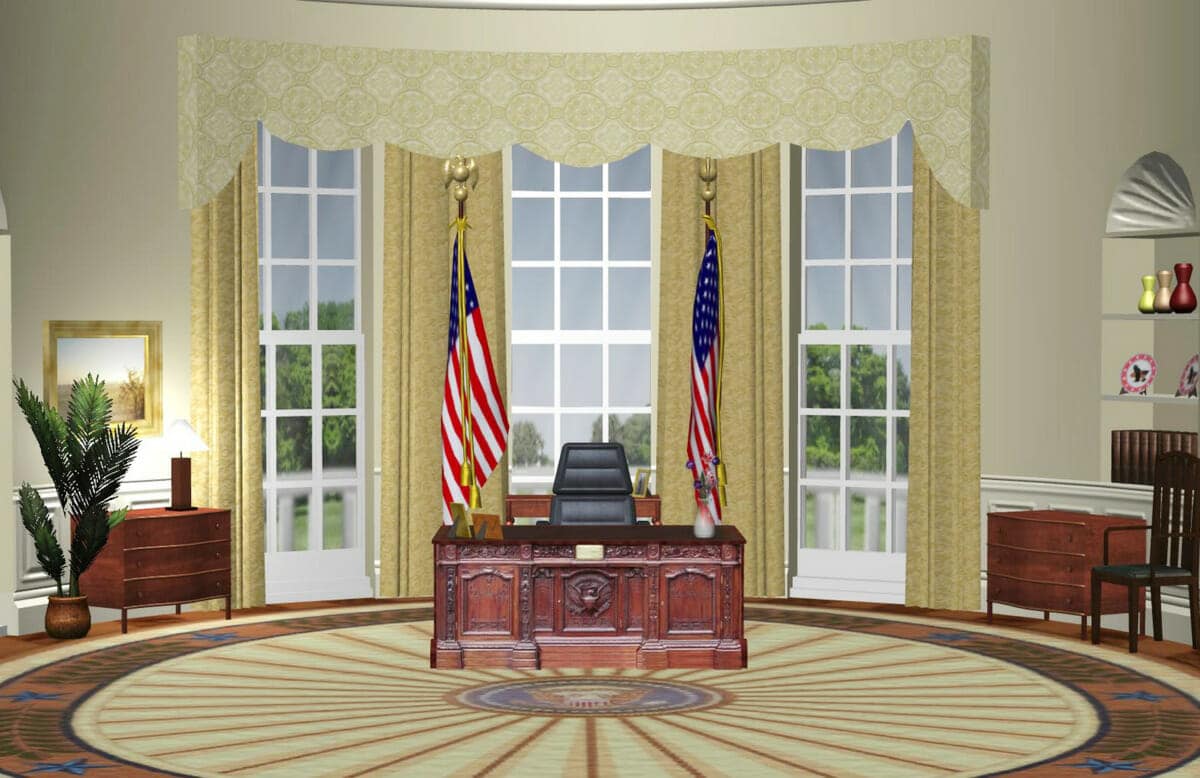
Photo by Sabrina Young
15. At a Concert

Photo by Mark Angelo Sampan
16. Underwater

Photo by Buddy Nath
17. Airplane Cockpit

Photo by capt.sopon
18. In an Airplane

Photo by Kelly
19. Poolside

Photo by Thorsten Technoman
Fun Backgrounds in Space
Outer space is a fun place to be (or at least pretend to be)! Use one of these pictures to look like you’re a space traveler!
20. With a Mars Rover

Image by David Mark
21. Futuristic Control Room

Image by Free Fun Art
22. Moon Landing
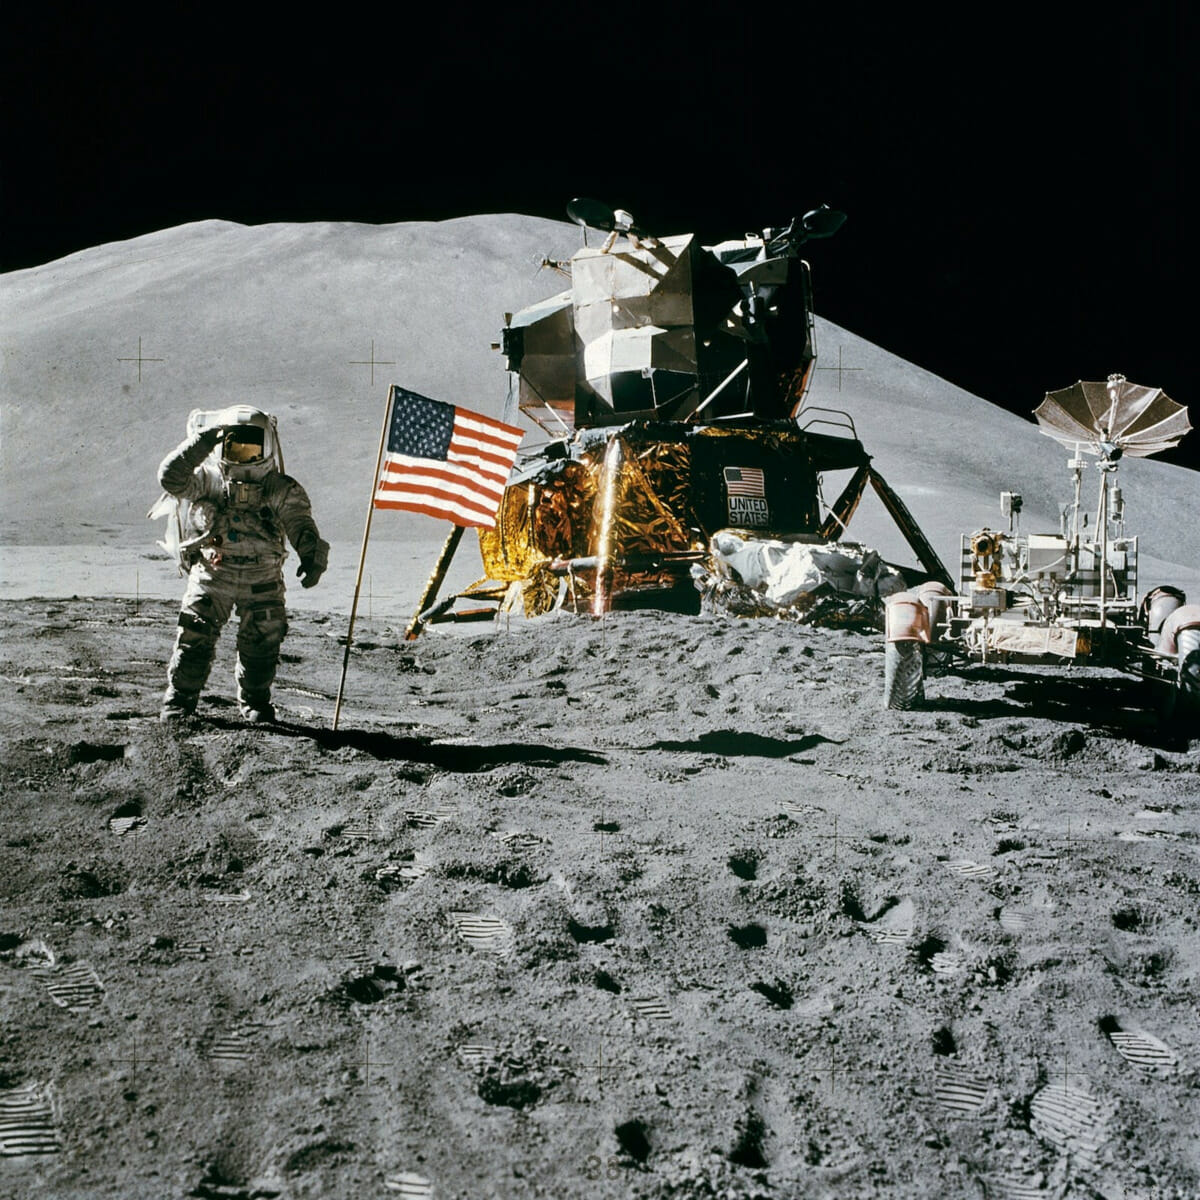
Photo by Pixabay
23. From Wall-E

From Disney Pixar
24. Imperial Star Destroyer Bridge from Star Wars

From Star Wars
How To Change Your Background on Microsoft Teams
If you’d like to use a funny background for your Zoom meeting, it’s really simple. The best part is that the Microsoft Teams background you selected will remain in all your calls and meetings until you decide to change it again.
Once you’ve found the image you need to use, follow the steps below to change your background before a meeting:
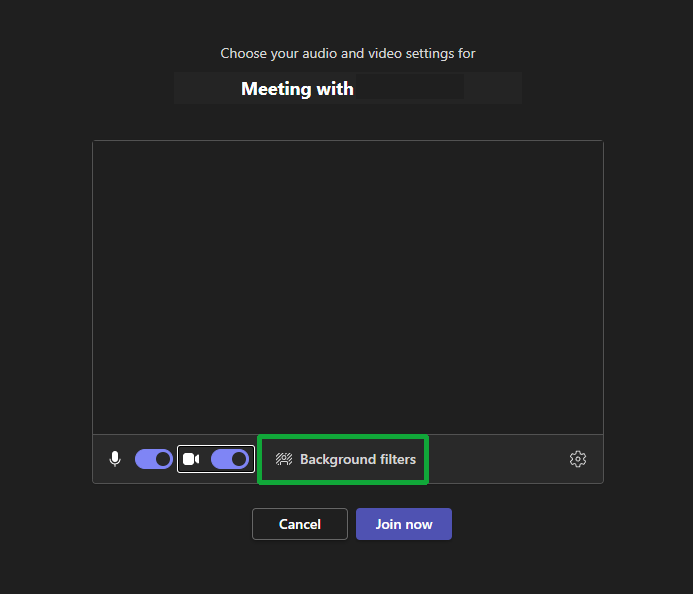
- Open up Microsoft Teams and start/join a meeting.
- While you are preparing your microphone and webcam for your meeting, turn on your camera by clicking on the toggle.

- Once your camera is on, click on “Background filters.”
- Select a background on the side panel that shows up. If you want to upload your own, click “+ Add new.”
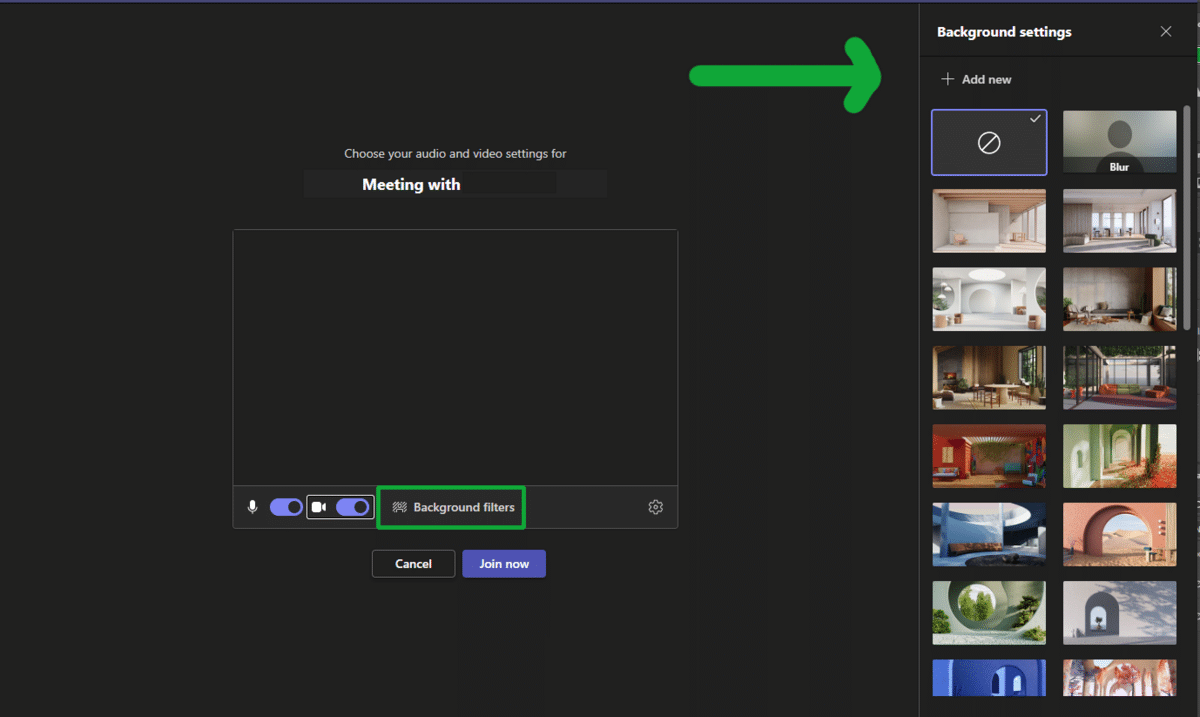
- Select the file you’d like to use and click “Open.” This will change your background to your selected photo or image.
- Click “Join Now” to enter your meeting — that’s it!
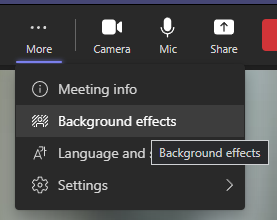
To change your background image during a meeting, follow the steps below:
- On the top of your meeting screen, select the “More actions” (…) button.

- Click on “Background effects.”
- From the resulting side panel, select the image you’d like to use. Otherwise, click “+ Add New” to use your own image from a file.
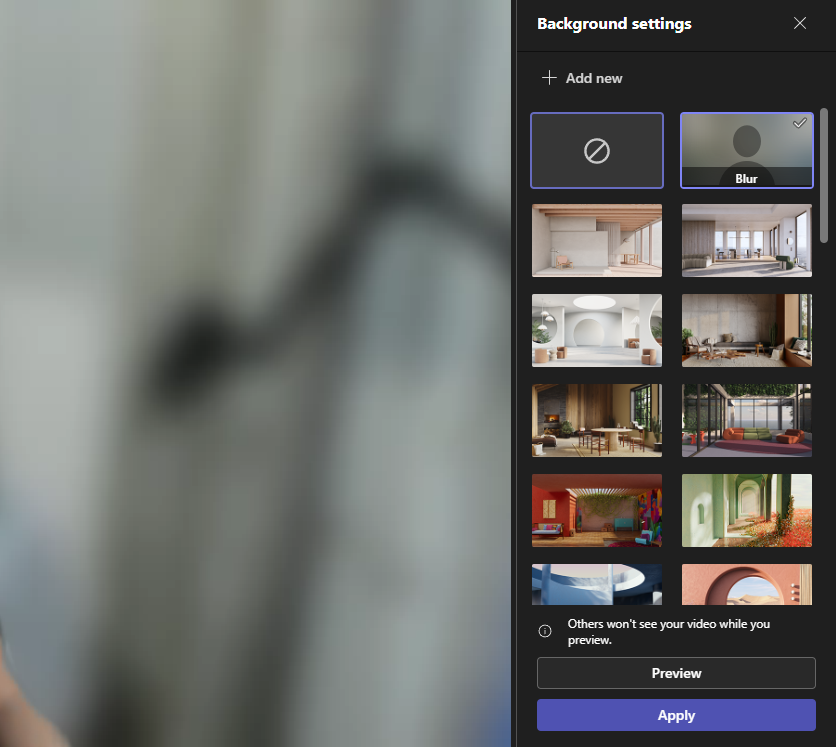
- Click on “Preview” and click “Apply” to change your background. That’s it!
Related Reading: How To Make a Live Wallpaper
Conclusion
Using funny Teams backgrounds is a great way to spice up an otherwise dull meeting (as long as it’s appropriate for the workplace)! Luckily, finding a funny background is a breeze. You can use a meme, funny wallpapers, or photos you’ve taken yourself. Follow the instructions in the guide above, and you’re good to go!
Want to use Google Meet instead? It’s just as easy to change your Google Meet background!
Related:
- How To Record A Teams Meeting (on Desktop & Mobile)
- How To Set Out of Office in Teams
- Google Meet Change Background: Desktop & Mobile How-Tos