
If a picture can paint a thousand words, imagine what you can do with a collage. By combining several photos, you can create something that tells a bigger story while remaining cohesive.
A collage may look elaborate, but it is fairly easy to do on your Apple device. You can either use a native app called Shortcuts or one of many possible third-party apps from the App Store.
Even better, most of these apps are free. There should really be nothing to stop you from making a great collage, except maybe a lack of skills. We’ve got you covered there, too.
In this guide, we’ll teach you the easy ways on how to make a collage on iPhone.
This Article Covers:
How To Make a Collage on iPhone With Native and 3rd Party Apps
Let’s start things off by looking at the iPhone’s built-in app, Shortcuts:
How To Make a Collage on iPhone Using Shortcuts
Developed by Apple in 2014, Shortcuts allows its users to get different things done more quickly. It can help you get directions one minute and generate expense reports the next. Additionally, you can use it to seamlessly transfer text from one app to another.
Of course, the app also connects you to a collage-making tool. To create stunning visuals within minutes, simply follow the steps below:
1. To get started, launch the Shortcuts app on your iPhone. If you deleted it before for some reason, you can download it for free via the App Store.

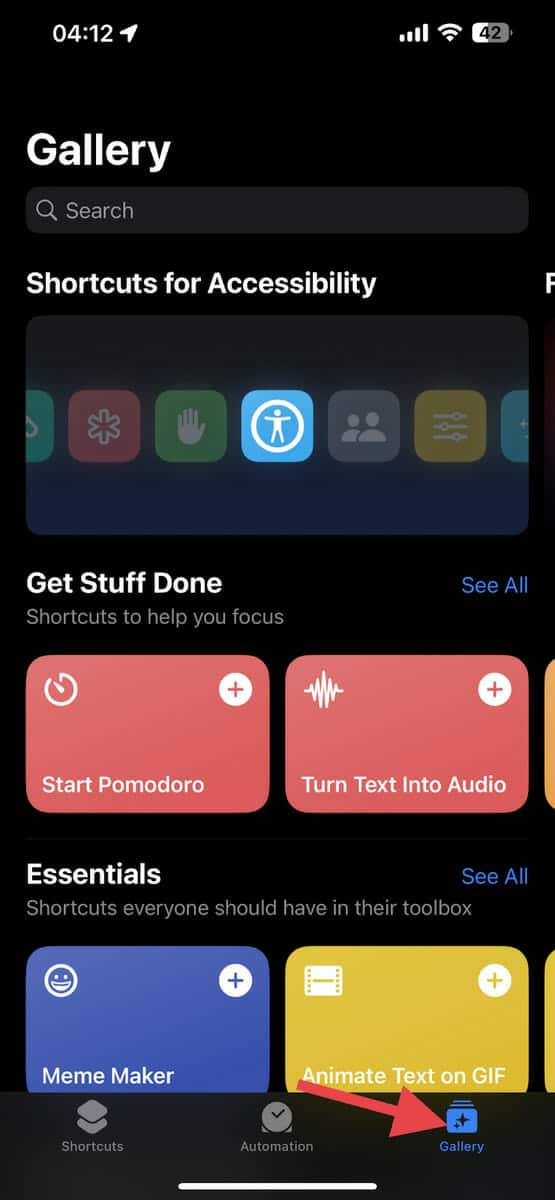
2. Next, look for the “Gallery” icon at the bottom right corner of the screen and tap on it. It should take you to a section where you can access different “shortcuts.”
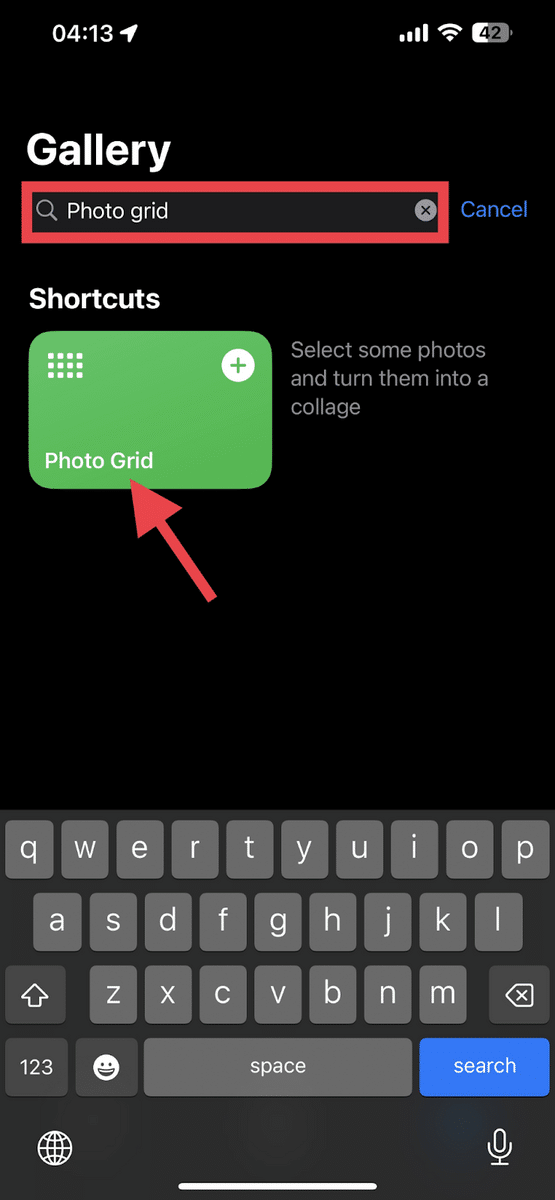
3. Tap on the search bar at the top of the screen and type the phrase “Photo Grid.” Doing this displays a green tile with a plus (+) sign right below the search bar. Tap on it.
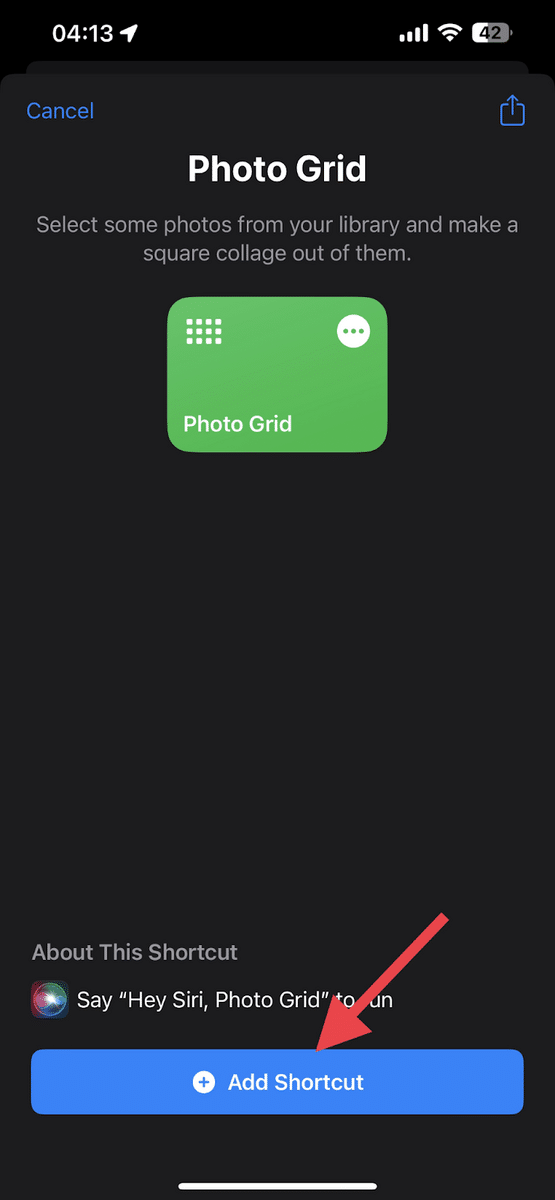
4. After tapping on the “Photo Grid” tile, a different page will pop up. Tap the “+ Add Shortcut” button at the bottom of the screen to add a Photo Grid to your Shortcuts.
5. Next, go back to the previous tab by tapping on the “Shortcuts” icon. You should see this at the lower left corner of the page.
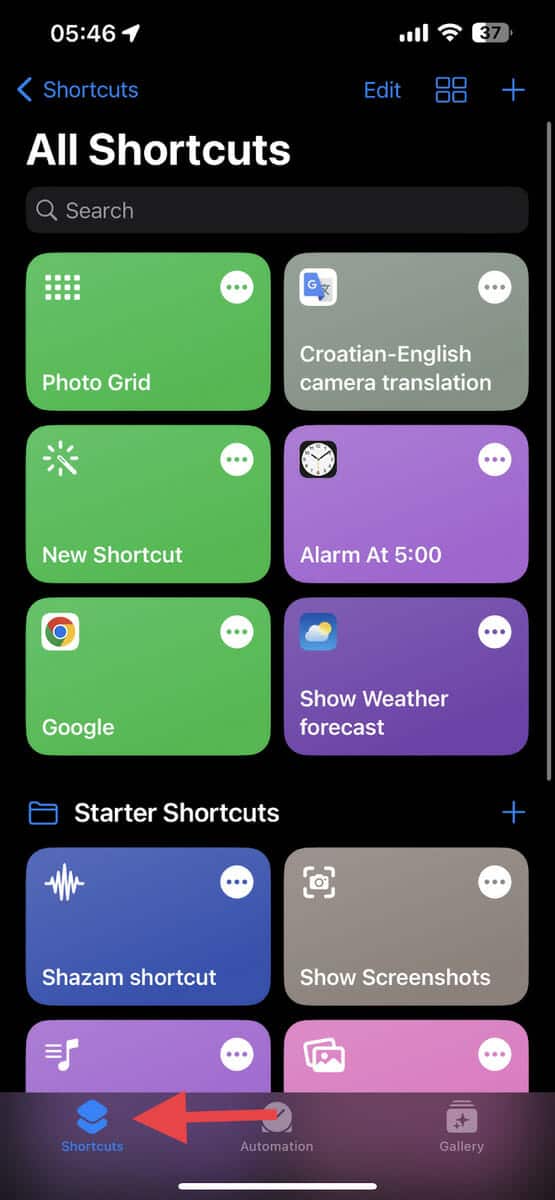
6. Then, look for the “Photo Grid” tool and launch it. Upon tapping, it will display all the recent photos on your iPhone.

7. You can choose another album by tapping on the “Album” tab at the top of the page.
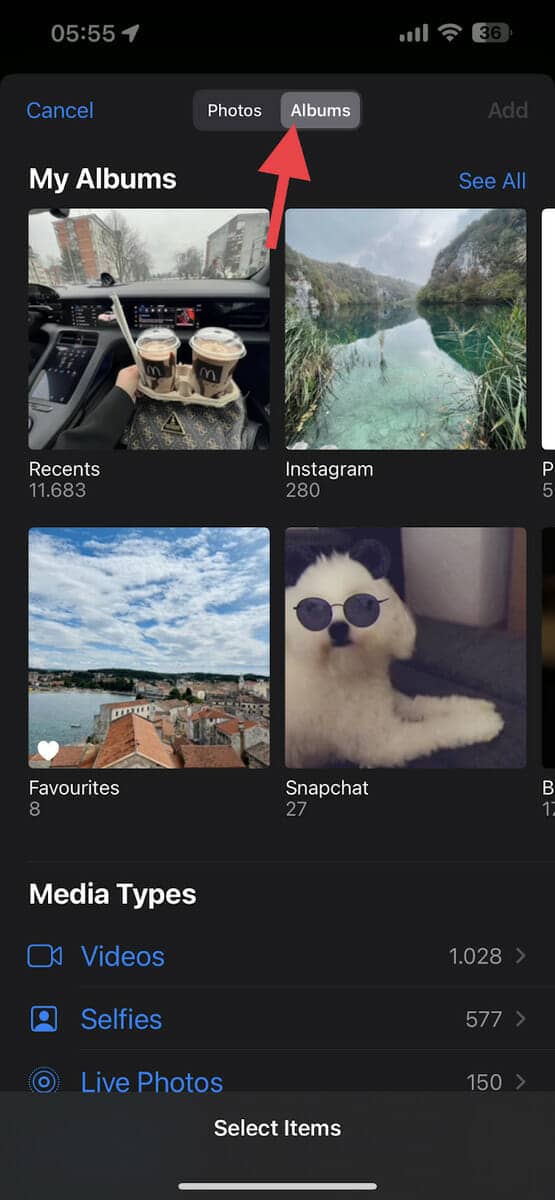
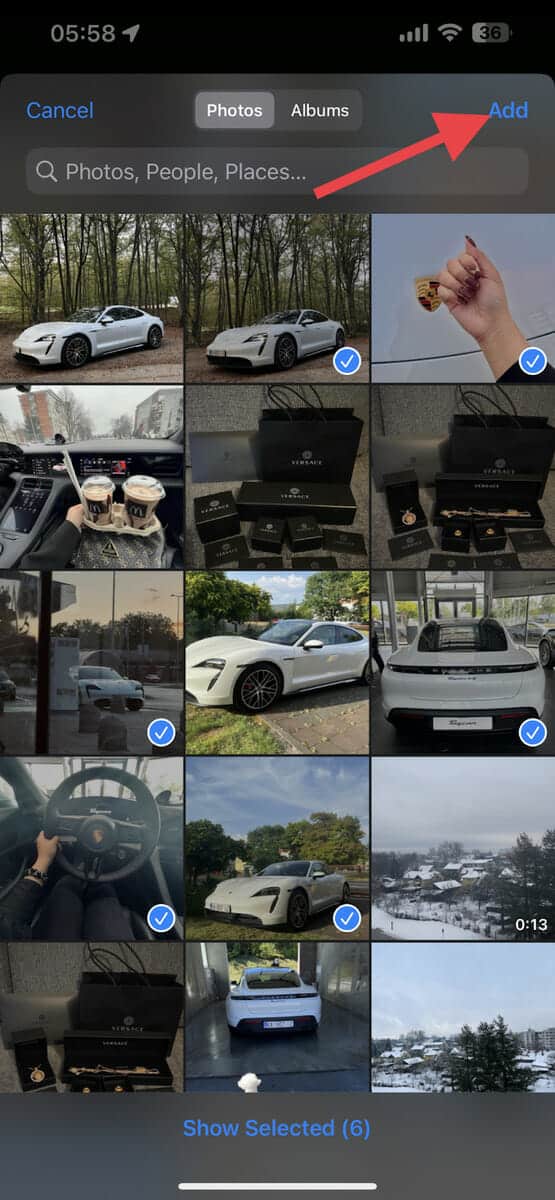
8. Next, select up to 16 photos you want to include in your collage by tapping on them. Once you have selected an image, a blue check mark will appear at the bottom right corner of the photos you choose.

9. Once you have selected your photos, tap on the “Add” button at the upper right corner of the page.
10. After a couple of seconds, a preview of your image will appear. If you’re satisfied with it, tap on the “Image” tab at the top of the page to display the drop-down options.

11. From the down-down menu, tap on your preferred option to save or share your new picture collage on your iPhone. You can choose to save the collage in save to files, save to photos, export it, or even print it directly from your phone.

12. Once you are done making collages, press the “Done” button at the upper right corner of the page.

And here’s the final output!

Using Photo Collage Apps
Shortcuts is a great app because it’s simple and easy to use. However, if you want something that is more advanced, we have a few third-party apps that we recommend for you to try.
Google Photos
Google Photos is an app that lets you store, share, or edit photos, videos, and screenshots taken by your iPhone. To create a collage using this app, simply follow the steps below:
1. To get started, launch the app on your iPhone. If you don’t have it yet, you can download it from the App store for free.
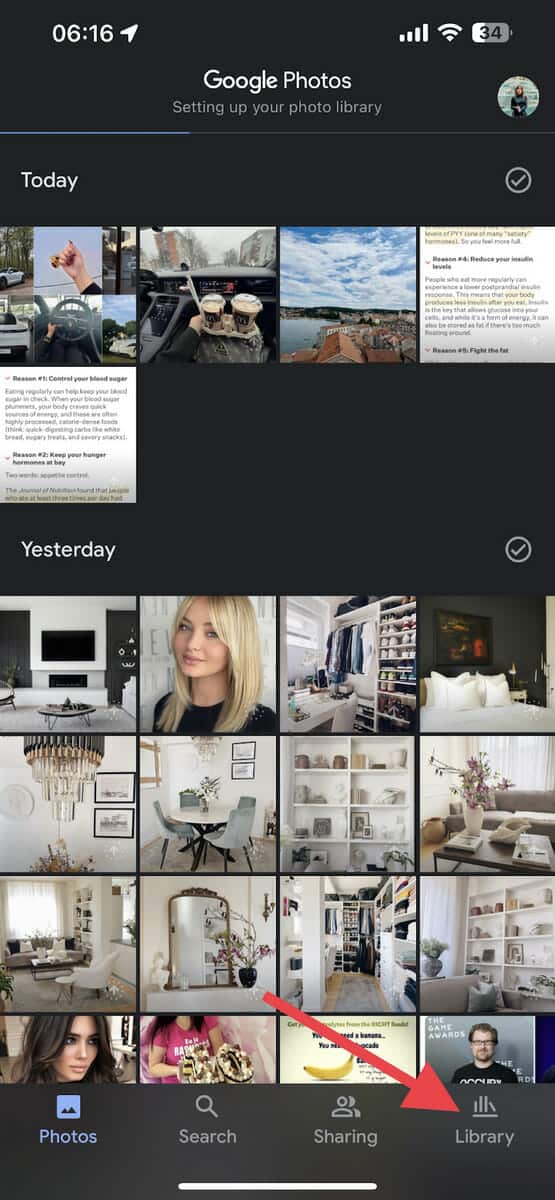
2. Tap on the “Library” section at the bottom right corner of the page. Here, you’ll find a number of options that will help you manage your digital media.
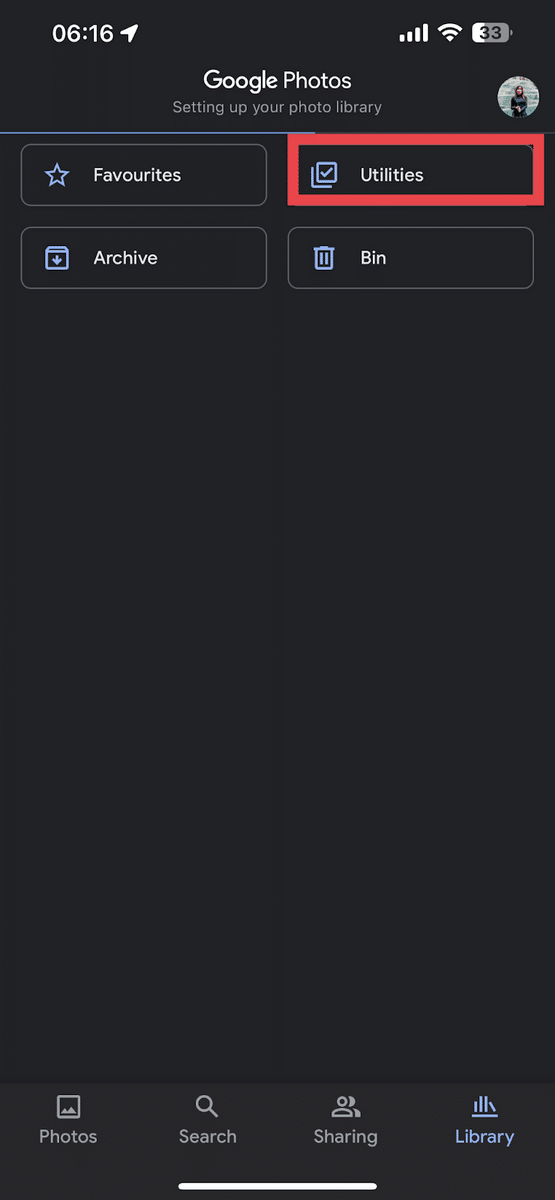
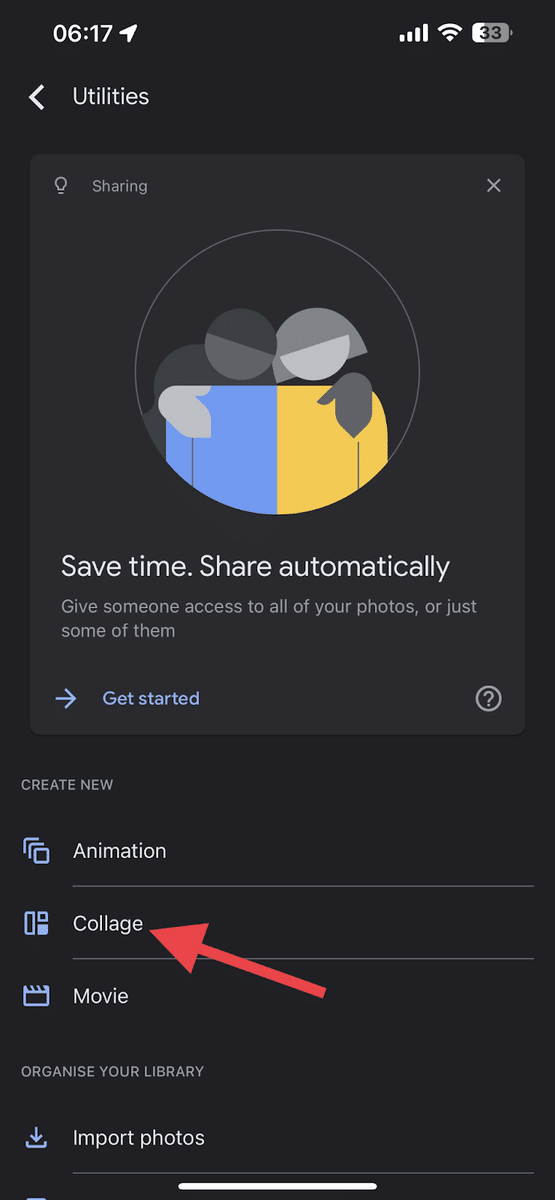
3. Next, tap on the “Utilities” option at the upper right corner of the page. This will take you to another page that lets you organize your library, create movies, and more.
4. Tap on the “Collage” option under the “CREATE NEW” section. Upon tapping, all the photos on your phone will appear.
5. Select up to six images you want to include in your collage by tapping on them. A blue check mark will appear on the upper left corner of each photo you add.
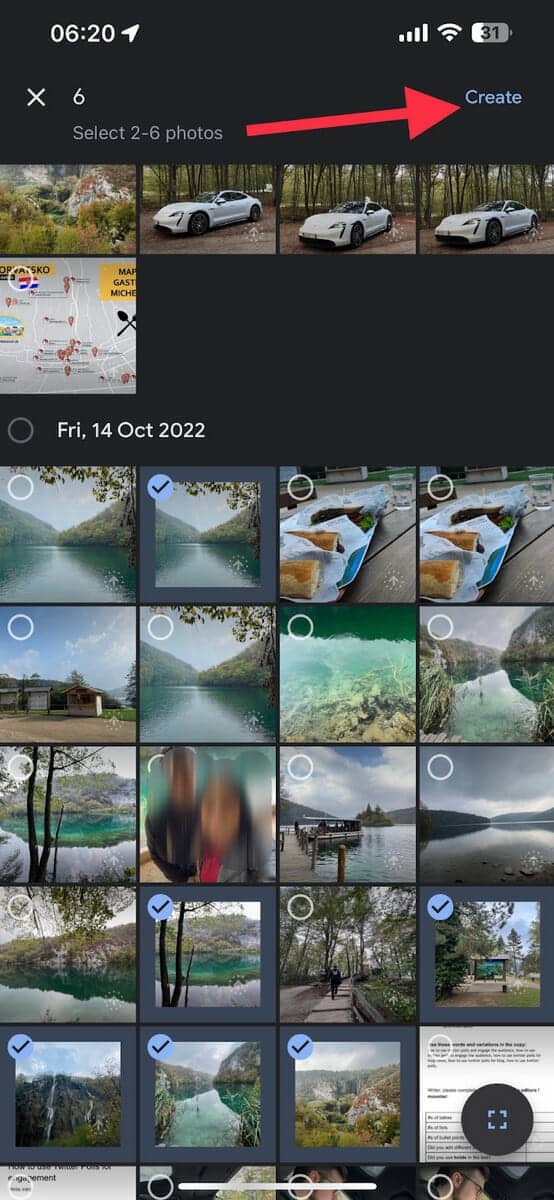
6. Once you’re satisfied with your selection, tap the “Create” button at the upper right corner of the screen. A preview of your collage will pop up at this point.
7. Choose from one of the many available templates at the bottom of the screen. You can swipe to the right to see more options. Each time you tap on a different template, the collage preview will change accordingly.

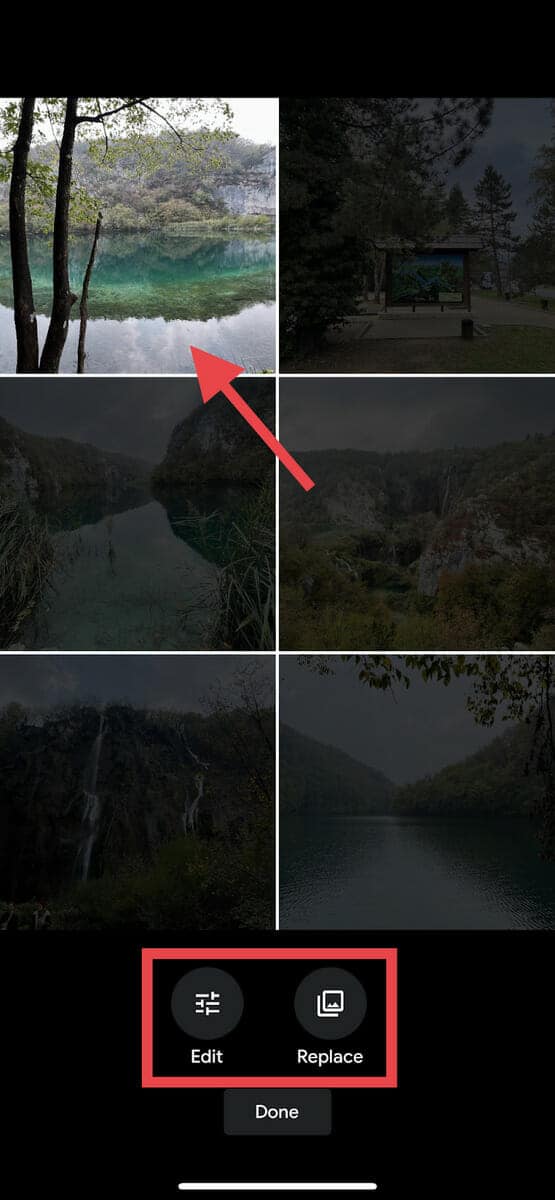
8. You can edit or replace photos in the preview mode. Just tap on the collage and choose between “Edit” and “Replace” at the bottom of the page. Press “Done” once you are finished.
9. Once you’re done editing, tap on the “Save” button at the lower right corner of the screen to save your collage. You will see this collage the next time you access the photos in your camera roll.
Here’s our completed collage!

Canva
Canva is a powerful graphic design platform that can create stunning presentations, posters, logos, videos, and more. To create a great-looking collage using this app, simply follow the steps below:
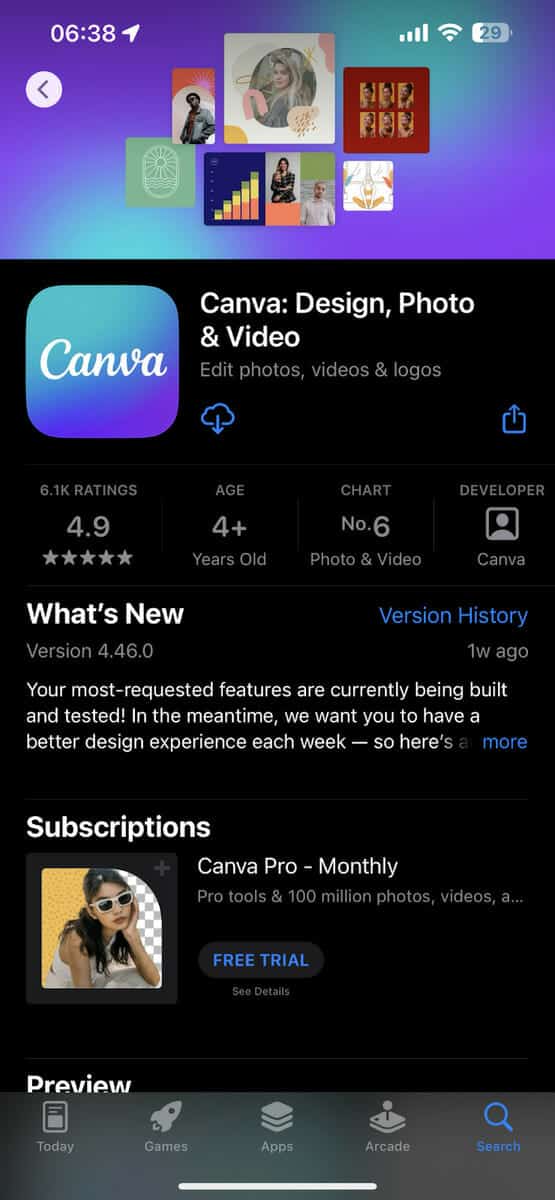
1. First, open the Canva app on your iPhone. If you don’t have it yet, you can download it from the App Store. It’s a free app, but you can unlock additional features by upgrading to Canva Pro.
2. Tap on the search bar at the top of the page. Then, type “Photo collage” and tap search at the lower right corner of the keyboard. Here, you will see various collage templates that you can choose from.
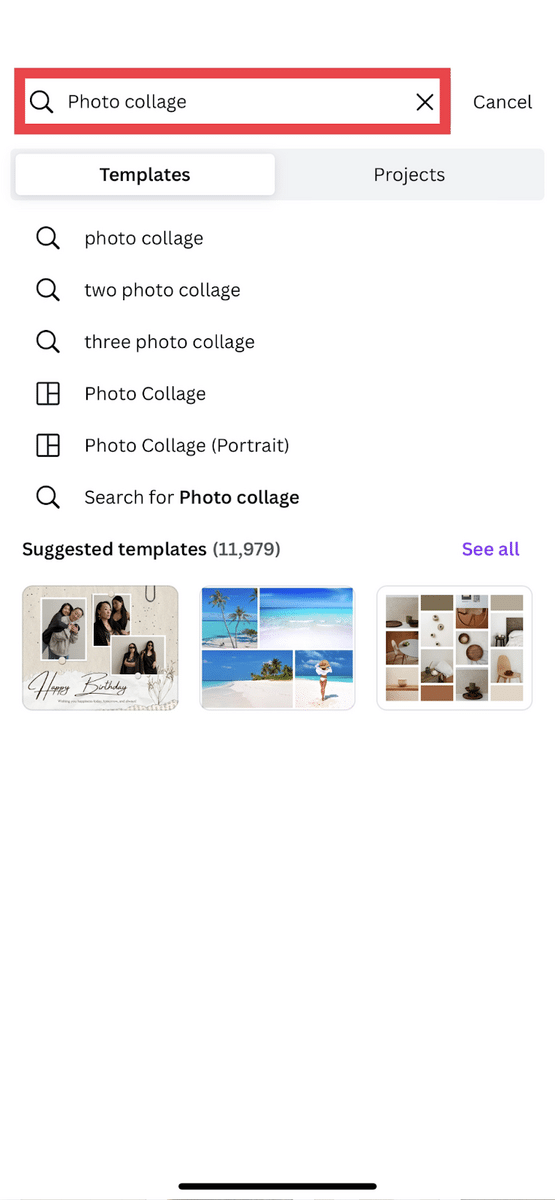
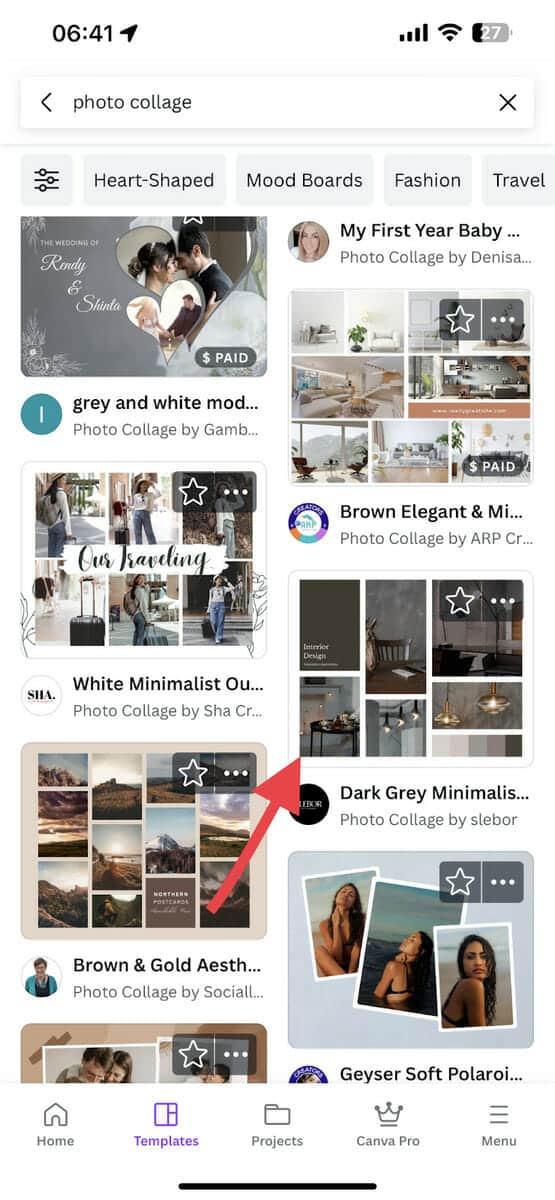
3. Look through the template options and select a template you like.
NOTE: Depending on whether you have a free or Pro account, only some templates will be available.
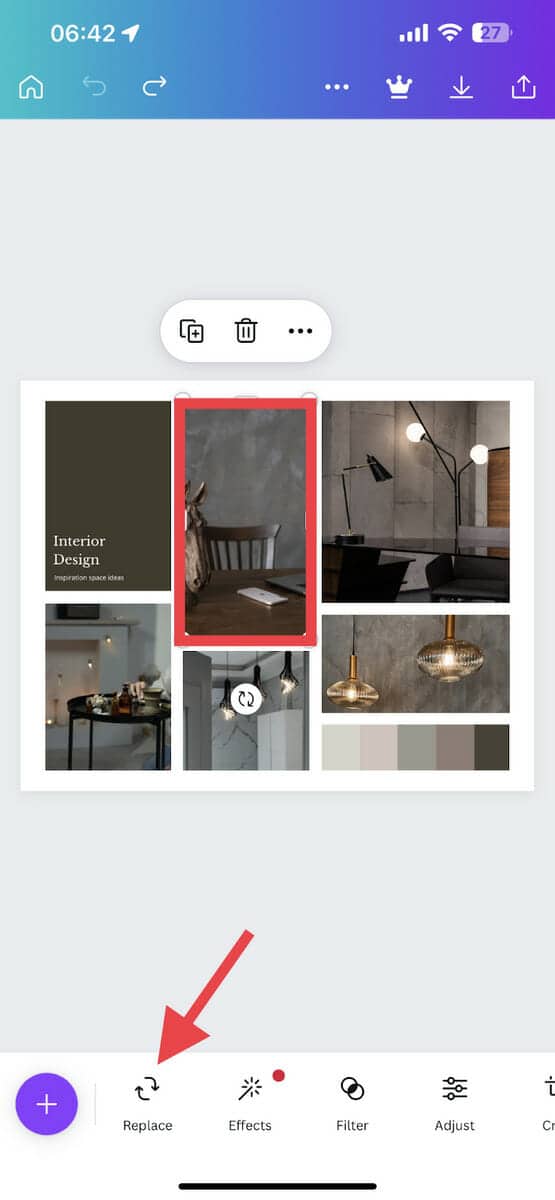
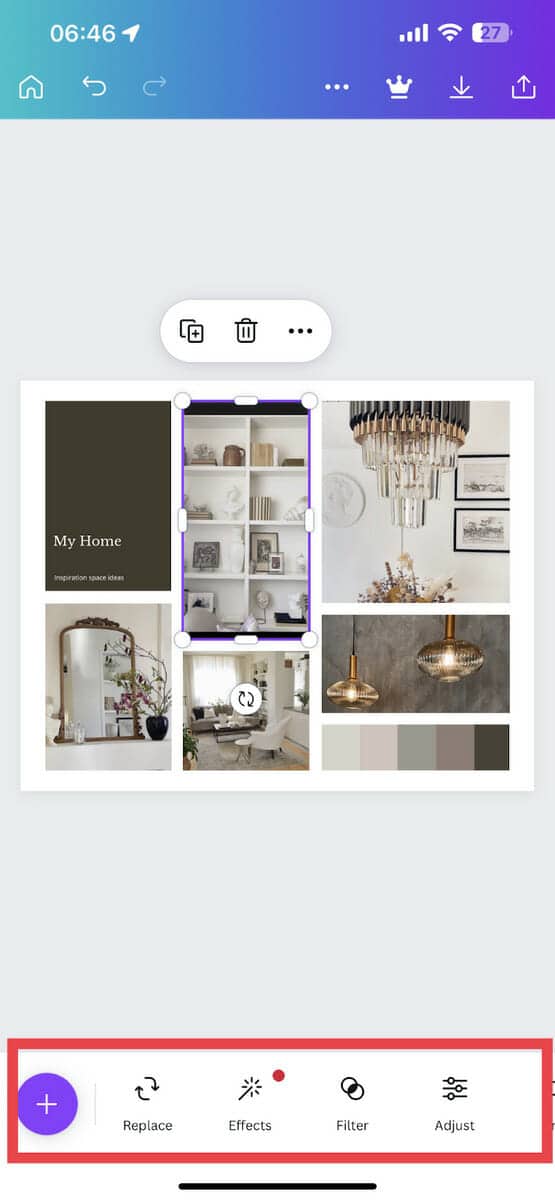
4. Now that we selected a template, let’s start creating a collage! First, tap on a placeholder image and then tap the “Replace” option at the lower left portion of the screen.
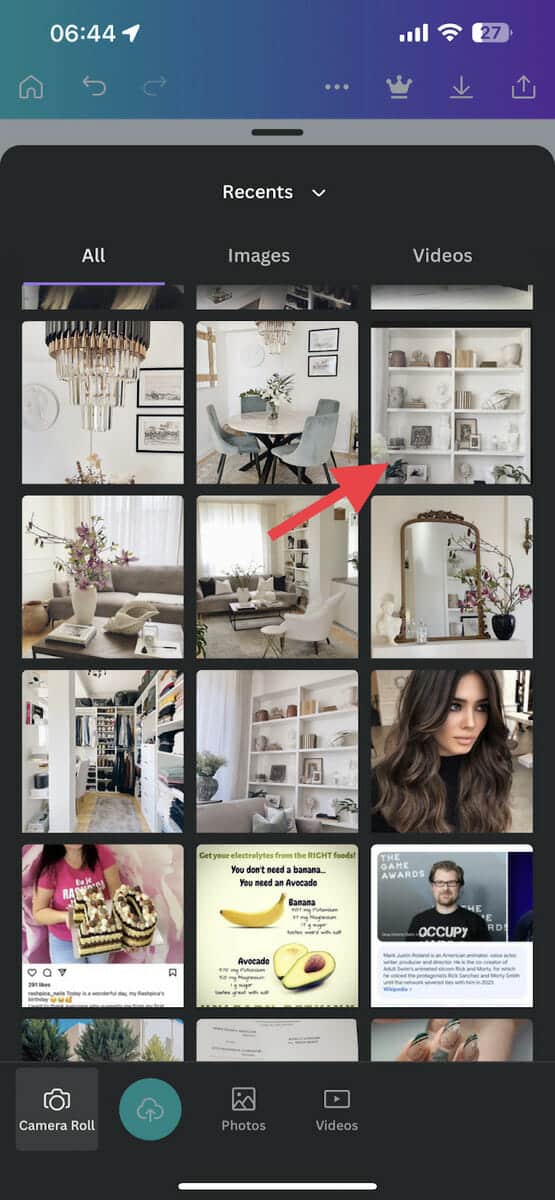
5. Choose the photo you want to use from your camera roll. Doing this will replace the stock image from the template with your selected image.
6. Repeat the process for the rest of the stock photos in the template. If there are any text sections, you can personalize this by changing the text too. Simply tap on the text box and click “Edit.” Once you’re finished, tap “Done.”

7. You can also edit the collage using the other tools provided at the bottom of the screen.
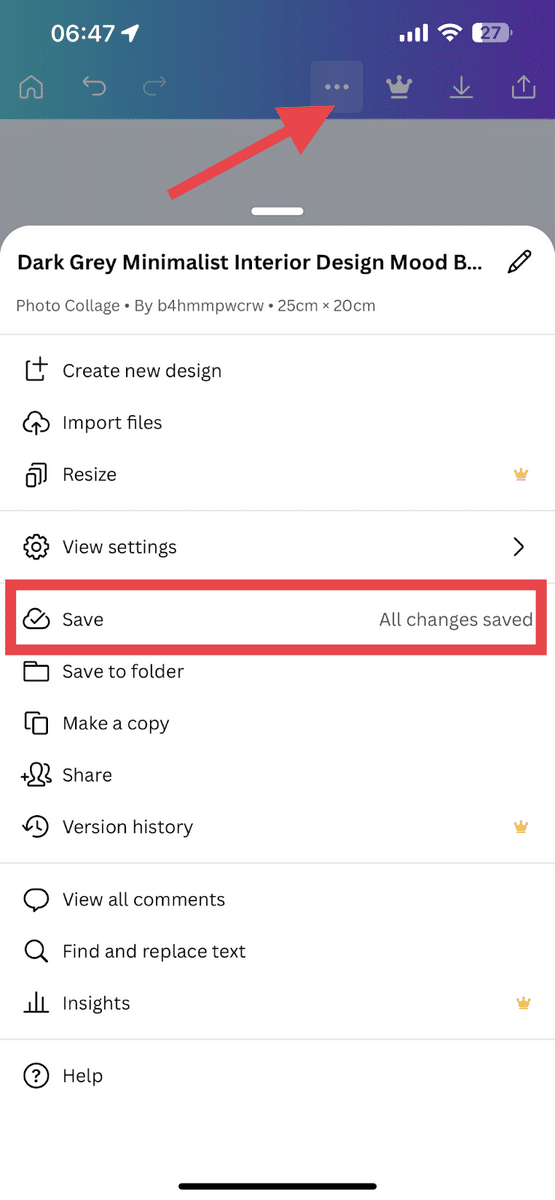
8. Once you’re done, tap on the three dots at the top of the page to access the menu and tap “Save.”
Note: The app also saves each change that you make automatically, so make sure your iPhone is connected to the internet.
Other Third-Party Apps To Consider
If you are looking for more third-party apps to try, you have a lot of options to choose from. That said, we highly recommend the following:
PicCollage: Grid & Story Maker
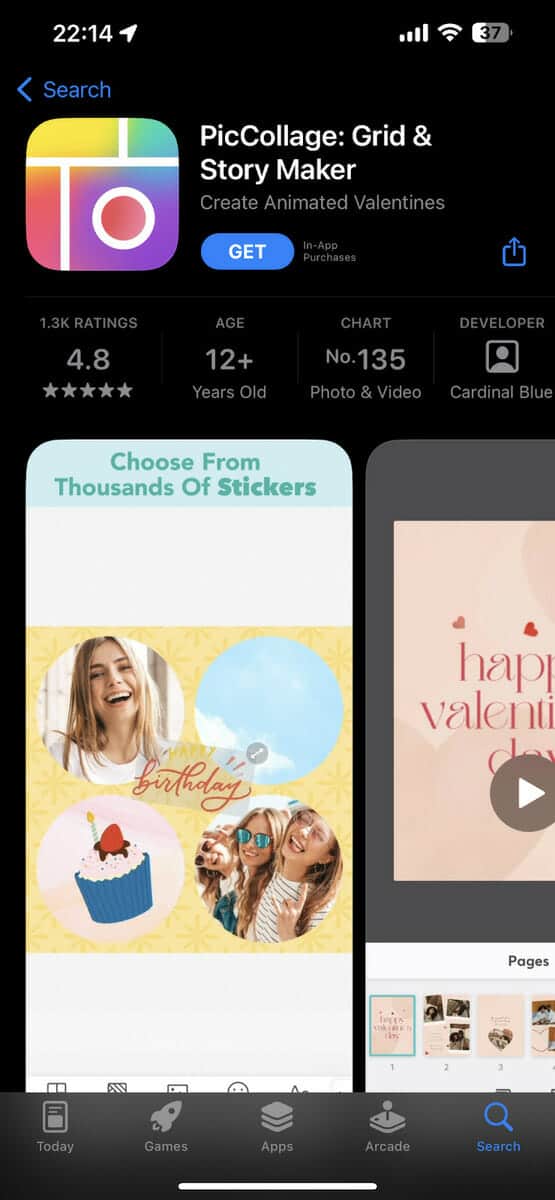
With PicCollage: Grid & Story Maker, you can make some of the most amazing and fully functioning collages. It also has a lot of templates that you can use, and you can easily share your projects on your social media accounts.
NOTE: This app is not completely free, so make sure you check what paid and free features there are before using it.
Photo Collage – Collageable
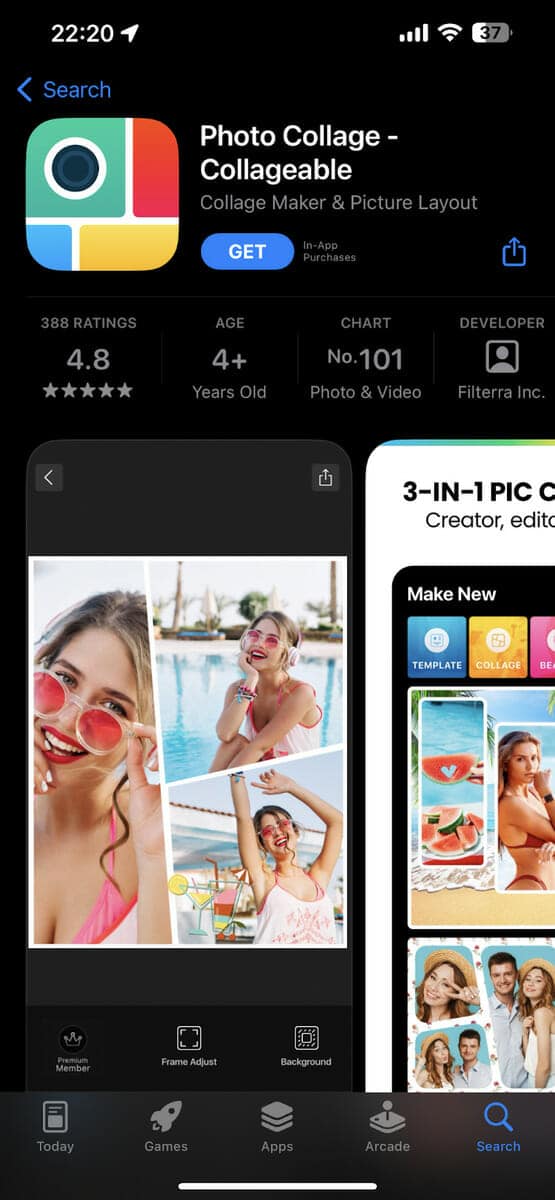
This app is another powerful editing tool that offers a lot of layouts, frames, stickers, filters, and more. Even better, it is highly intuitive and easy to navigate, making it a great collage tool.
More Tips on Creating a Photo Collage on iPhone
Once you have tried these apps, you will find that they are easy to use. You should be able to make compelling collages using any of them in no time. That said, there are a few more things that you should keep in mind to make your projects even better.
- Use pictures with similar textures or colors so everything looks cohesive
- Aim for a healthy balance between closeup and distant images to create contrast.
- Take burst photos (shooting mode where several photos are taken quickly) and use them to make a collage on the iPhone.
Frequently Asked Questions
Can I Make a Collage Without Using Third-party Apps?
Yes, of course! You can make a collage using the iPhone’s Photo Grid tool through the Shortcuts app.
How Do I Get Rid of Watermarks After Editing?
Getting rid of watermarks depends on what app you use, but it usually involves some form of payment. For Canva, you can download all the elements you like and then select “Remove Watermark” to make the purchase.
Wrapping it Up
Creating a collage on an iPhone is a simple and easy process that can be done using various apps available on the App Store. These apps offer a variety of tools and options to help you create a unique and visually appealing collage, whether it’s for personal use or for sharing on social media. With a bit of creativity and some basic editing skills, anyone can make a beautiful collage on their iPhone.
New to iPhone photography? Learn how to take professional photos on your phone here!
Related:
- How to Hide Photos on iPhone (3 Easy Ways)
- How To Change Notes Password on Your iPhone
- Learn to Schedule a Text Message on an iPhone in 2 Minutes
- How to Send Long Videos on an iPhone [Easy Guide]
- How to Screenshot on iPhone, iPad, and iPod Touch [3 Ways]
- iPhone Keeps Disconnecting From Wifi? 8 Quick Fixes to Try
- How to Back Up Camera Roll to Snapchat
- Best Fax App For iPhone